
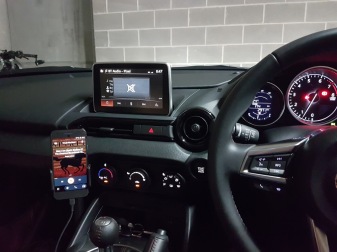
There are thousands of car phone mounts on the market. They usually have a clip to mount on the air vent or suction cup to mount on the windshield or dash. MX-5 2016 has no flat surfaces on the interior. Space is very limited, which makes it hard to find a good location for the phone mount.
I really didn’t want to block my air vent and didn’t want anything sticking on the dashboard.
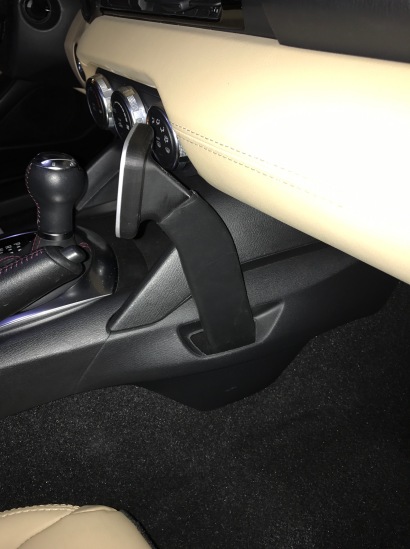
I found on the Miata.net forum an attempt to repurpose the passenger side cup holder for a phone mount. This gave me an idea to do reverse engineering of the cup holder mount shape, and recreate it as a phone mount base. Thanks to my 3D printer, I was able to print a few iterations, before I figured out all the angles and shapes.
My first prototype was made for a clip base holder. I found it a little bulky and decided to use a magnet holder instead.
The second version was with integrated magnets, not adjustable. It worked great for my older iPhone4s, but for bigger phones, it was hard to find the best angle.
Very first prototype with integrated magnets
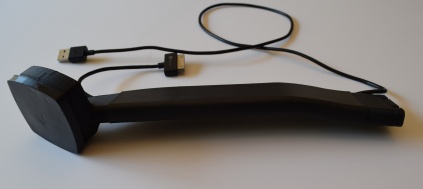
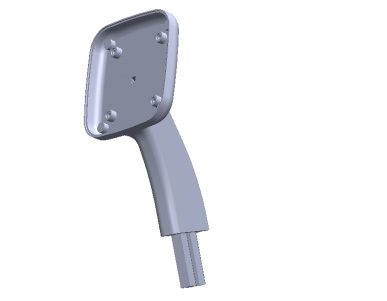
Most holders with magnets have a ball-type mount, to have 360-degree adjustments. I designed a stand with a ball on the end and this made it possible to use most of the available holders with magnets or clips. The ball is attached to the base with a long M3 screw, which prevents the neck from breaking. Due to the printing size limitations of the 3D printer, the mount was printed as two parts.
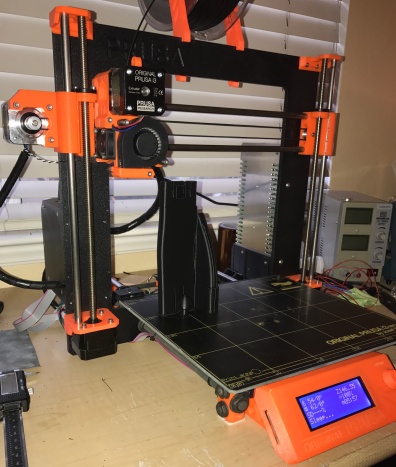
6 hours of printing, one set ready
A heat shrink tube makes the attachment of the two parts very strong and also blends well with the MX-5 interior.
Latest design with ball mount
Some people like the ProClip brand. Their holders use 4 screws to mount (AMPS standard). I designed the AMPS version as well and got good feedback form miata.net folks.
First prototype with AMPS holder
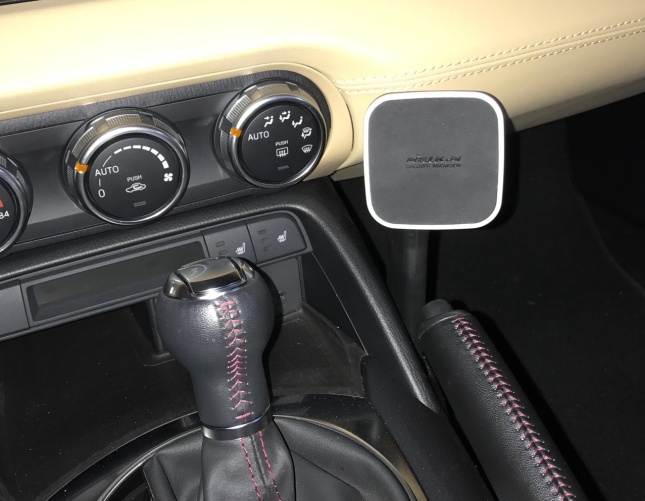
All my holders have a channel under the heat shrink to conceal the charging cable. This makes it possible to make a stealthy cable routing to AUX port under the dash. But still, I have to fiddle with a tiny connector to charge my phone, every time I enter the car. I started searching for wireless charging options with magnets. Magnets and wireless coils usually do to work together well. And I found on Amazon a very good option:
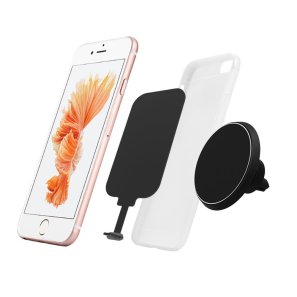
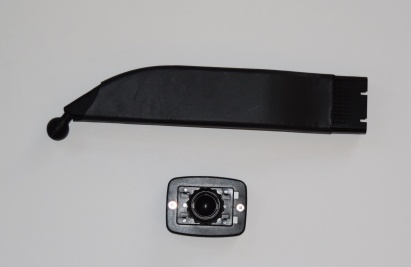
Neotrix Wireless Qi
Qi charger with concealed cable and iPhone7 with charging pad under the casing
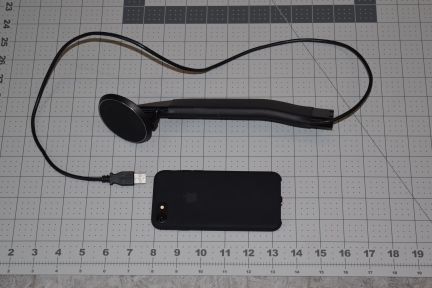
Right-angle Micro USB cable from StarTech
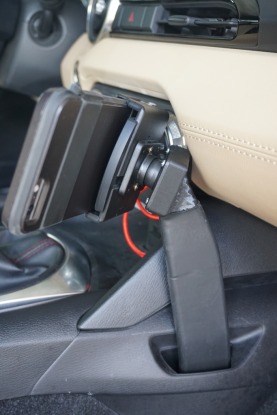
It looks great, has a standard ball mount and no more cables to deal with! Very clean setup, no hanging cables, works great for my iPhone7. It looks stylish even without a phone.
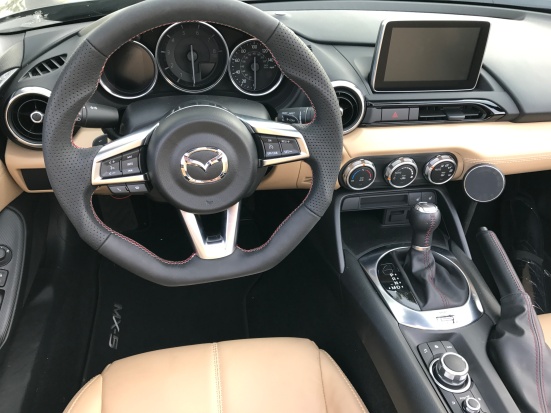
Everything is wireless. I’m no longer using USB connectors, they’re just collecting dust, so I made a 3D printed little plug, to cover them.
USB plug
The latest addition to my collection of mounts was a version for the Right Hand Drive market (UK, Australia…). It was not just a simple mirroring of design. Mazda for some reason made different keying for the left and right holders. On my ordering page, this version is marked as RHD.
updated on 4/8/2017:
After just 4 months of using the Qi charger from Neotrix, it died… Unfortunately, Neotrix’s design is absolutely not serviceable…no way to fix it. I searched for a better option and decided to go with this charger from Nillkin
 This charger can be easily disassembled by removing 4 screws from the backside. I designed my own enclosure with a USB cable directly soldered to the PCB, avoiding using Micro-USB connector. The cable is now completely hidden, inside the 3D printed mount.
Nillkin has a nice external case for iPhone 7 with integrated Qi and 4 magnets, which makes a perfect alignment with the charging pad. I think this is the best option I can find for now.

Great setup. How do I buy it?
LikeLike
You can order from Ponoko, https://www.ponoko.com/showroom/mx-5
LikeLike
I couldn’t find anything like this at that link. I would be interested in the STL, ideally.
LikeLike
This was 6 years ago. Now everything is on mx5things.com
LikeLike
I thought you might enjoy seeing how I used your first-generation bracket to hold my handheld CB radio.
[quote]Looks like the handheld unit is small enough to fit into the cupholder as well! I used sergey’s free 3D-print file to print a bracket designed to be a cellphone mount that inserts into the cupholder slot that I’ve suspended a Rubbermaid Vent Catch-All from using a 3/4″ long M8 x 20 mm bolt and nut.[/quote]
see the article for photo: https://21stcenturyfiat124spider.wordpress.com/2016/11/18/cb-installation/
LikeLike
I’d like to get my hands on the usb plug.
LikeLike
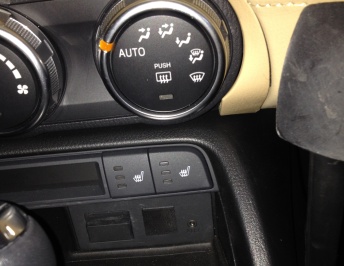
Are you able to freely use the emergency brake with a phone/garmin mounted?
LikeLike
yes
LikeLike